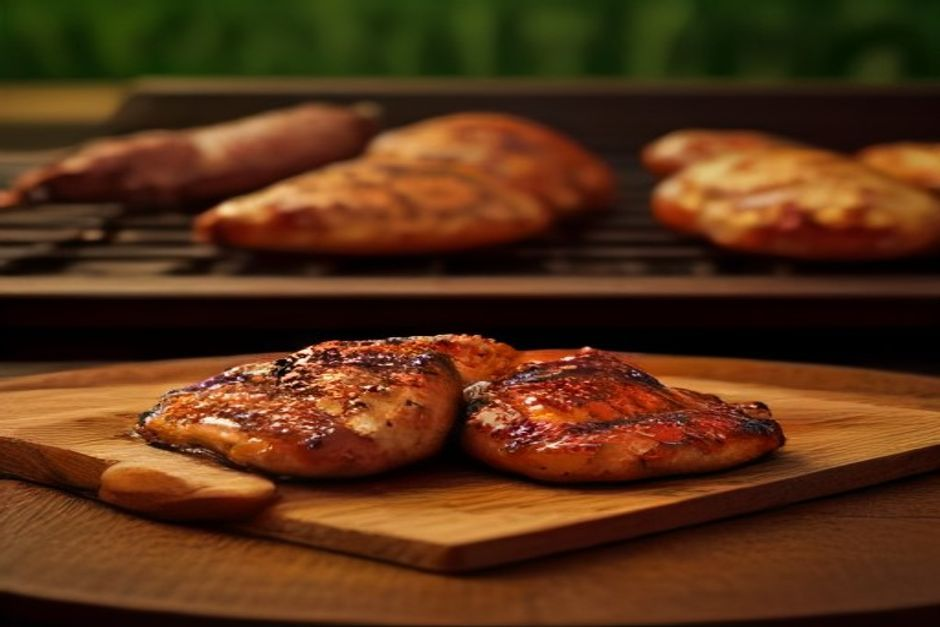
Chicken thighs and wings are the most forgiving cuts to smoke and, done right, the most rewarding — rendered fat, bite-through skin, and real wood flavor without the six-hour commitment of a brisket. Done wrong, you get rubbery, flabby skin over perfectly good meat. The difference almost always comes down to temperature strategy, not the cut itself.
Affiliate disclosure: As an Amazon Associate, PitPrimer earns from qualifying purchases at no additional cost to you. Product features and pricing subject to change.
Video: Smokafried Wings – Chicken Wings Smoked and Fried by HowToBBQRight, via YouTube.
Why Chicken Skin Needs a Different Approach Than Brisket or Pork
Low-and-slow works beautifully for beef and pork because you’re rendering thick connective tissue and collagen over many hours. Chicken skin is a different problem entirely: it’s a thin fat layer sitting over muscle, and if it sits in a smoker at 225–250°F for too long, the fat never renders and the skin turns rubbery and pale instead of crisp. Smoke flavor also penetrates raw meat far better than cooked meat, which is why the best results come from a two-stage approach rather than a single flat temperature the whole cook.
Chicken Thighs vs. Wings: Key Differences at a Glance
| Cut | Smoke Stage Temp | Smoke Stage Time | Finish Temp | Target Internal Temp | Total Time |
|---|---|---|---|---|---|
| Chicken Wings | 250°F | 25–30 min | 400–425°F | 175°F | 50–60 min |
| Bone-In Thighs | 250°F | 45–60 min | 375–400°F | 175°F | 75–90 min |
| Boneless Thighs | 250°F | 30–40 min | 375–400°F | 165°F | 50–65 min |
Note the target internal temps run above the USDA-minimum 165°F for bone-in cuts. Dark meat and skin-on cuts are high enough in fat and connective tissue that pulling them at 175°F produces more tender, better-rendered results without drying anything out — the extra 10 degrees is doing you a favor here, not overcooking the meat.
Brine vs. Dry Rub: Which One and When
Both approaches work. The right one depends on how much time you have and what texture you want from the skin.
Wet Brine Method
A basic wet brine is 1/4 cup kosher salt dissolved in 4 cups of water, plus optional brown sugar, garlic, and peppercorns. Submerge thighs or wings for 2–4 hours (wings need less time than thighs because they’re smaller). Wet brining adds moisture insurance and seasons the meat all the way through, which matters most if you’re nervous about drying out white meat or you’re cooking a large batch where some pieces inevitably overcook slightly.
The tradeoff: wet-brined skin holds surface moisture, which works against you if crispy skin is the priority. Pat the pieces completely dry with paper towels and let them air-dry uncovered in the fridge for at least an hour before they hit the smoker — skipping this step is the single most common reason wet-brined chicken comes out with soft skin.
Dry Brine / Dry Rub Method
Salt the chicken directly (about 3/4 teaspoon kosher salt per pound) and let it sit uncovered in the fridge for 4–12 hours before cooking. This draws moisture to the surface, dissolves it back into the meat, and leaves the skin drier than it started — exactly what you want for crisping later. A dry rub with a baking powder component (not baking soda, and never more than about 1 teaspoon per pound of chicken) helps break down surface proteins for extra-crispy skin, which is why several competition-style poultry rubs include it in the ingredient list.
For a solid all-purpose poultry rub, PitPrimer’s Best BBQ Rub 2026 guide breaks down chicken-specific picks by flavor profile. If you’d rather shop directly, a basic sweet-and-savory poultry rub with brown sugar, paprika, and garlic covers most tastes:
Find poultry BBQ rubs on Amazon →

- The secret ingredient to backyard barbecue – Rub. Eat. Repeat! Use this sweet and spicy rub and you’ll have the best bbq in tow…
- Cook with confidence – Deliciously dependable gourmet meat rubs guaranteed to level up your grill game. These delicious dry rub…
- Quality diet friendly blends – Developed from the finest herbs, spices & seasonings, our bbq spices are low in calories and fre…
Wood Pellet Pairings for Poultry
Chicken’s mild flavor means it picks up smoke faster and more noticeably than beef or pork, so it’s easy to overdo it. Fruit woods and lighter blends generally outperform heavy woods here:
- Apple or cherry — mild, slightly sweet, the safest default for wings and thighs alike
- Pecan — nutty and a step stronger than fruit wood without turning bitter
- Hickory — works, but use sparingly on chicken; it’s easy to cross into bitter territory over the shorter cook time
- Mesquite — best avoided for a full-length poultry cook; its intensity is built for shorter, hotter cooks rather than the 45–90 minute range thighs and wings need
PitPrimer’s Best Wood Pellets 2026 guide has a wood-by-wood breakdown if you’re building out a pellet rotation for different proteins.
The Two-Stage Smoke-Then-Crisp Method
Stage 1 — Low and Slow for Smoke Flavor
Set the smoker to 250°F. This is the temperature range where pellet smokers produce the most visible smoke and where the meat’s surface is still cool and slightly tacky enough to actually absorb it. Place wings or thighs skin-side up, spaced apart with room for air to circulate — crowding the grate is the other common cause of soft skin, since trapped moisture has nowhere to go.
Hold this stage for the smoke-stage time in the table above. You’re not cooking to a finished internal temp yet; you’re building flavor and getting partway there.
Stage 2 — High Heat for Crispy Skin
Once the smoke stage is done, open the vents (or switch to the grill’s direct/sear function if it has one) and bring the temperature up to 400–425°F. This is the step that actually renders the fat under the skin and drives off surface moisture. Watch internal temp closely from this point — the jump from 250°F to 425°F ambient means the meat finishes fast, often in 15–20 minutes for wings.
Pull the pieces at the target internal temps in the table above, verified at the thickest part without touching bone. This is where a fast, reliable instant-read thermometer earns its keep — a slow reading during this stage means overcooked chicken by the time you get an accurate number.
Chicken Wings: Specific Technique
Wings have a high surface-area-to-meat ratio, which is exactly why they crisp so well with this method and why they’re the most forgiving cut on this list to learn on. Split wings into flats and drumettes for more even cooking and easier eating, though whole wings work fine too — just add a few minutes to the finish stage. A light dusting of cornstarch under the dry rub (1 tablespoon per pound) is an optional extra step that pulls additional surface moisture and pushes the skin closer to fried-wing texture.
Chicken Thighs: Specific Technique
Bone-in, skin-on thighs are the most flavorful and most mistake-tolerant cut in this guide — the bone and extra fat buffer against overcooking. Boneless skinless thighs cook faster and skip the crisping stage’s main purpose entirely, so if you’re using boneless thighs, you can hold a single temperature (300–325°F) for the whole cook instead of the two-stage method, pulling at 165°F. For bone-in thighs, trim excess skin flap and any large fat deposits before seasoning so the rub makes direct contact with more surface area.
Gear That Actually Matters
You don’t need much specialized equipment for this cook, but two things make a real difference in outcome:
A fast instant-read thermometer. Because Stage 2 moves quickly, a thermometer that takes 8–10 seconds to read is genuinely too slow — you’ll either pull early out of caution or overshoot waiting for a stable number. The Alpha Grillers Instant Read Digital Thermometer reads in 1–2 seconds, which matters most exactly during this fast finish stage.
Check the Alpha Grillers Instant Read Thermometer on Amazon →

- Instant Read Food Thermometer | Our instant read thermometer features a temperature probe and advanced, highly accurate technol…
- Multi-Use | From bbq thermometer to baking thermometer, our digital food thermometer for cooking is perfect for meats, liquids,…
- Easy-Read Digital Thermometer For Cooking | Large instant thermometer dial with bright blue backlight means you can always read…
A wired probe thermometer for the smoke stage. If you’re cooking a large batch of thighs and don’t want to open the lid repeatedly to spot-check with an instant-read, a wired probe left in one representative piece during Stage 1 lets you monitor progress on a display without losing heat every time you check. Alpha Grillers’ wired probe model includes preset alerts for poultry.
Check the Alpha Grillers Wired Probe Thermometer on Amazon →

- Highly Accurate – The Alpha Grillers meat thermometer provides highly accurate instant read temperature monitoring within +/- 1…
- 7 USDA Preset Temps – The Alpha Grillers oven thermometer features 7 USDA preset temperatures for beef, chicken, pork, fish, an…
- Timer & Alarm Modes – The Alpha Grillers food thermometer offers both timer and alarm modes to help you dial in your cooking li…
For a deeper comparison across brands and price points, see PitPrimer’s Best Instant-Read Meat Thermometer 2026 guide.
Common Mistakes to Avoid
- Skipping the air-dry after a wet brine. Wet skin cannot crisp, no matter how hot the finish stage runs.
- Crowding the grate. Leave at least half an inch between pieces so smoke and hot air circulate on all sides.
- Sauce too early. Sugar-based sauces burn at 400°F+. Sauce during the last 5 minutes of Stage 2, or off the heat entirely, and let the skin crisp first.
- Guessing doneness by time alone. Every smoker runs slightly differently and outdoor temperature affects cook time significantly. Always confirm with a thermometer, not the clock.
- Using a heavy wood for the entire cook. Chicken’s short cook time and mild flavor make it easy to over-smoke with mesquite or straight hickory.
FAQ
Do I need to flip wings or thighs during the smoke stage?
Flipping once partway through Stage 1 promotes more even smoke exposure and rendering, but it’s not strictly necessary if your smoker has good airflow. It becomes more useful during Stage 2, where flipping halfway through the high-heat finish helps crisp both sides evenly.
Can I do this whole cook at one temperature instead of two stages?
Yes, especially for boneless thighs, but skin-on cuts cooked at a single low-and-slow temperature will not crisp properly. If crispy skin isn’t a priority for you (for example, if the chicken is going into a sauce-heavy dish afterward), a single 300–325°F cook to target internal temp works fine and simplifies the process.
What’s the actual difference between 165°F and 175°F for chicken?
165°F is the USDA minimum safe temperature for poultry, reached instantly at that number. Dark meat (thighs, wings, drumsticks) contains more connective tissue than white meat, and that tissue continues breaking down into gelatin as temperature climbs past 165°F, which is why pulling dark meat at 175°F produces a noticeably more tender result rather than a drier one.
Why did my wings come out with soft, rubbery skin?
The three most common causes are: skipping the high-heat finish stage entirely, not drying the skin thoroughly before cooking (especially after a wet brine), or crowding the grate so pieces steam each other instead of getting direct airflow.
How much wood pellet smoke is too much for chicken?
If the meat tastes bitter or overwhelmingly smoky rather than complementary, the wood was likely too heavy (mesquite or straight hickory) for the shorter cook time chicken needs, or the smoke-stage temperature ran too low for too long, producing thick, dirty smoke rather than clean thin smoke.
Bottom Line
Chicken thighs and wings reward technique over time investment — the two-stage smoke-then-crisp method is the single biggest lever for better results, more so than wood choice, rub choice, or even brand of smoker. Get the low-temperature smoke stage right for flavor, then commit fully to the high-heat finish for skin texture, and confirm doneness with a fast thermometer rather than a clock. Once this method is dialed in, it transfers directly to other poultry cuts, including a full Thanksgiving bird — see PitPrimer’s guide to smoking a whole turkey on a pellet grill for the same principles applied at scale. And if you’re building broader low-and-slow skills beyond poultry, the pulled pork shoulder guide is a natural next cook.